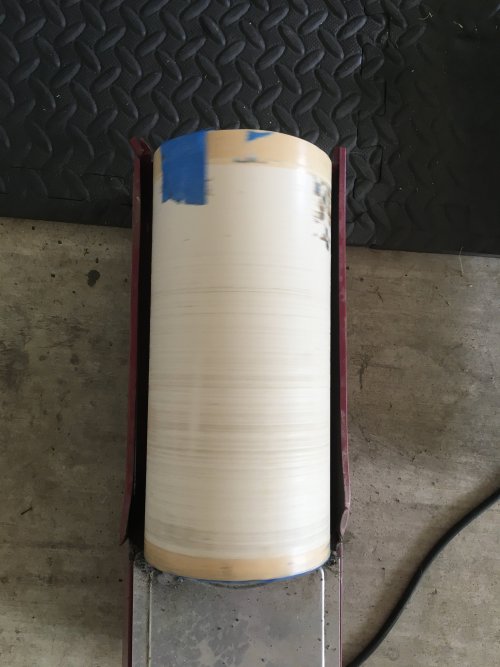
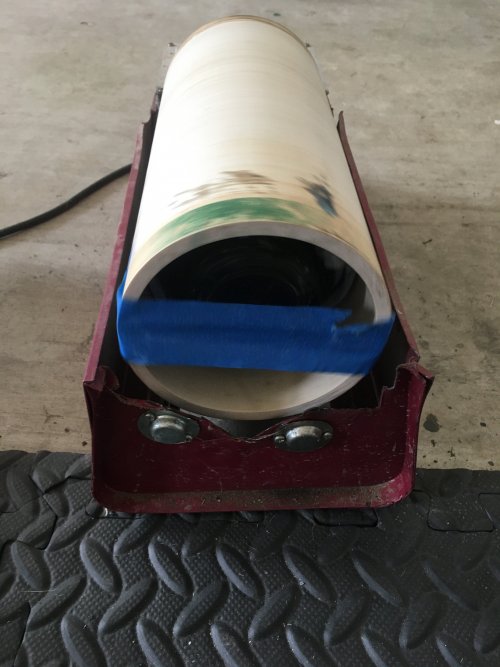
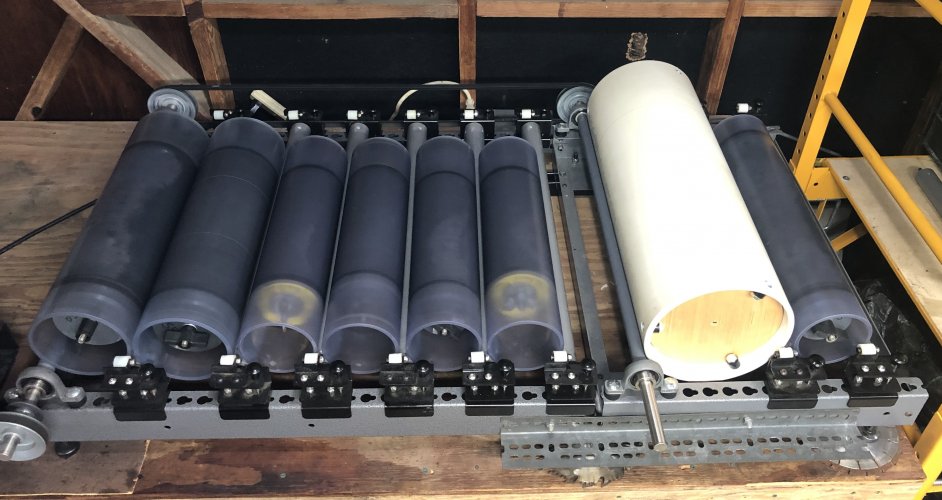
So I sometimes tumble bottles that don’t fit so I had to cut the side down and just leave the canister open. I usually fill the bottle with the copper and cleaning agents, use a Buffalo Trace whiskey cork to stopper it, wrap it in a couple of shirts so the bottle doesn’t move inside, and then tape the mouth of the PVC closed so it doesn’t try to slide out over time. Not the most professional looking contraption but it gets the job done.Cool. I thought the frame would not be strong enough after removing that much material. Can I see a picture of your modification? Did you enlarge the shafts to accommodate the bushings on the end? I have one thats why I ask.
ROBBYBOBBY64.

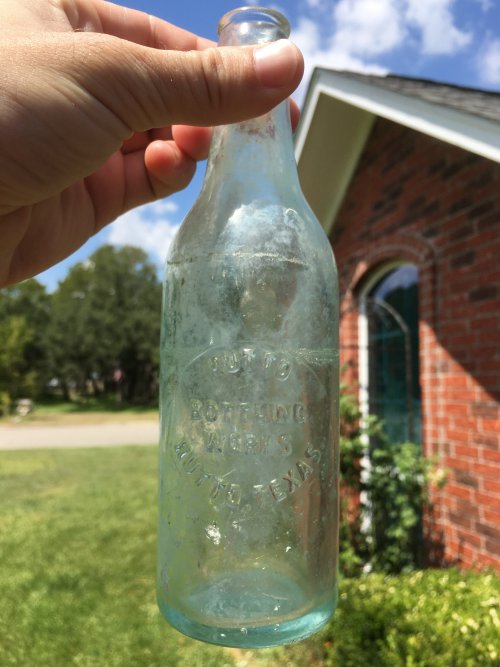
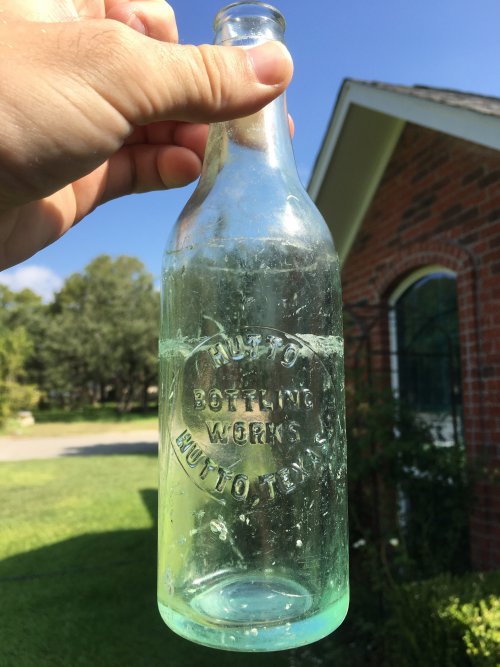
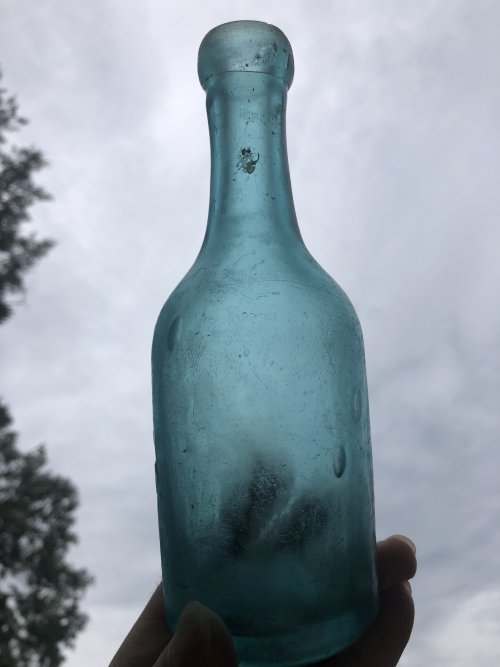
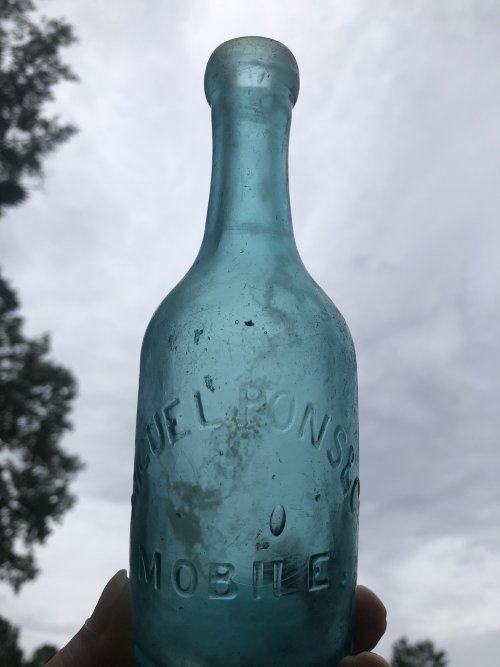
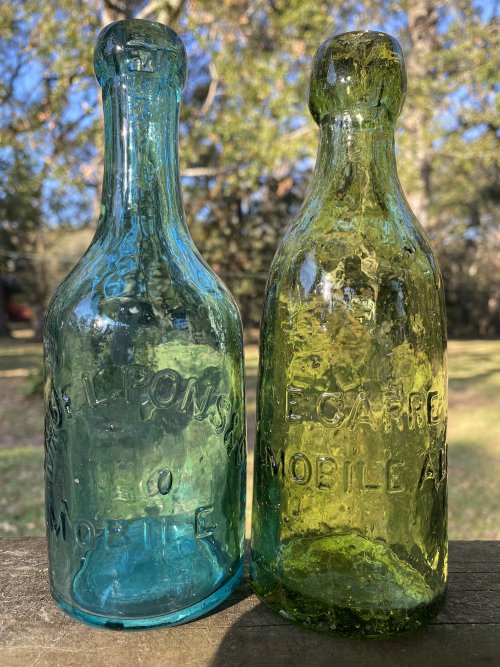
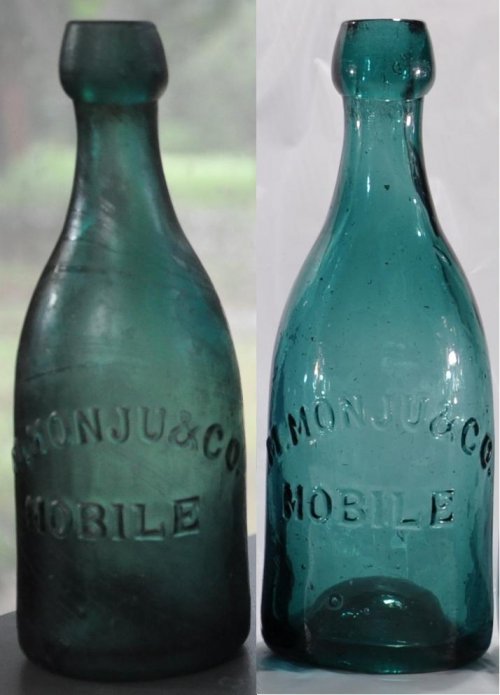
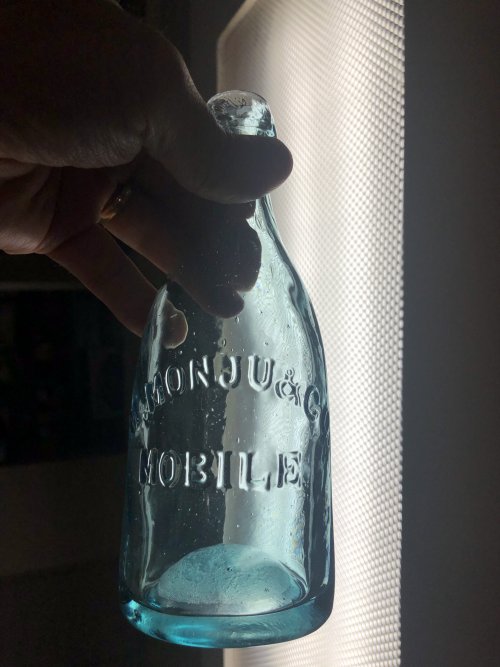
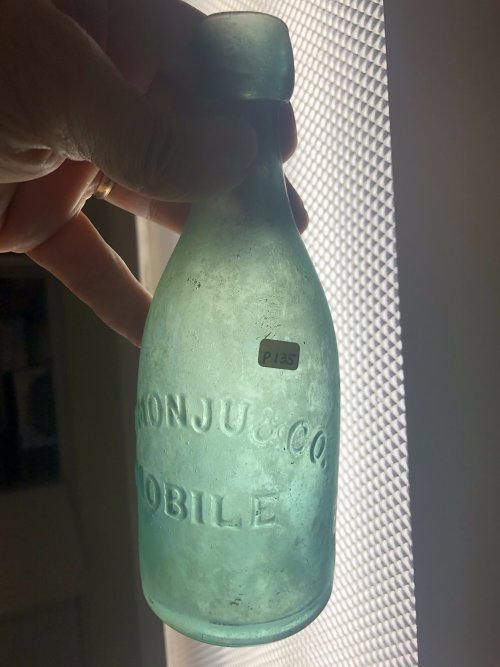
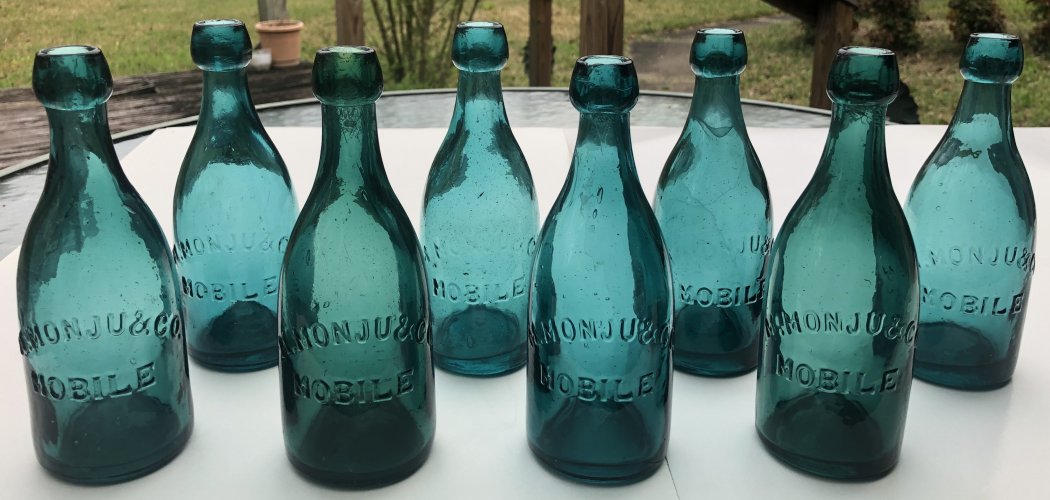
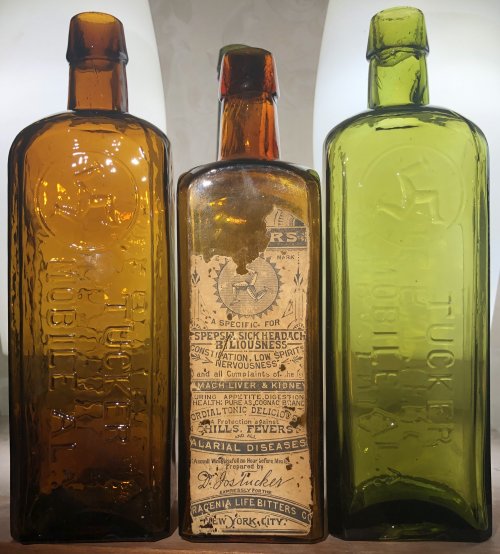
Tumbling Before and After photos
- Thread starter webe992
- Start date
Welcome to our Antique Bottle community
Be a part of something great, join today!
Similar threads
Latest posts
-
 Once in a lifetime? Moral of the story never overlook fallen tree stumps
- Latest: Bluestreak39
-

-
 Rare Utah can added to my collection!
- Latest: timeandabottle
-
-
Latest threads
-
Once in a lifetime? Moral of the story never overlook fallen tree stumps
- Started by Bluestreak39
- Replies: 0
-

-
-
Looking for info; embossed BUBBLES; no other markings.
- Started by MSZ
- Replies: 6
-
-
C.1870 Utah drugstore with a snake on pestle
- Started by timeandabottle
- Replies: 0